
Clip-in hair extensions are the perfect solution for adding instant length, volume, and style — all without the commitment of permanent extensions. Best of all? You don’t need a salon appointment to get flawless results. In this post, we’ll walk you through the step-by-step process of installing clip-in hair extensions at home like a pro.
What You’ll Need
- A set of high-quality clip-in hair extensions
- A rat-tail comb
- Hair clips
- A brush or detangling comb
- Hairspray or texturizing spray (optional)
- Mirror (a hand-held one for checking the back)
Step-by-Step Guide to Installing Clip-In Hair Extensions
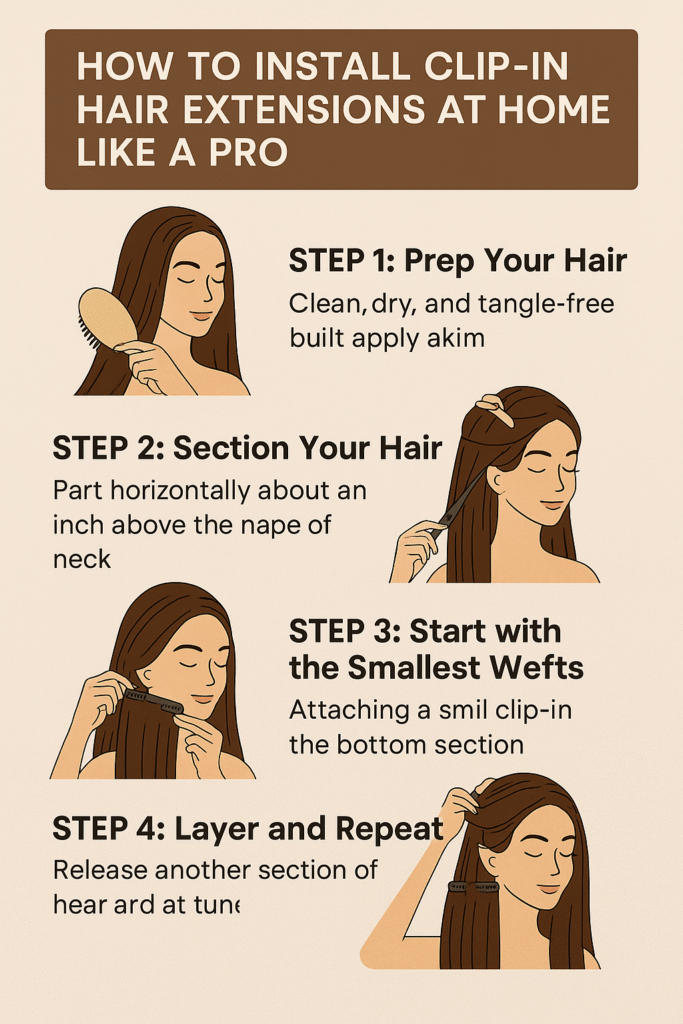
Step 1: Prep Your Hair
Start with clean, dry, and tangle-free hair. Brush it out thoroughly to make sure there are no knots. If your hair is super silky, add a bit of texturizing spray so the extensions grip better.
Step 2: Section Your Hair
Using a rat-tail comb, part your hair horizontally about an inch above the nape of your neck. Clip the upper portion of your hair out of the way.
Step 3: Start with the Smallest Wefts
Begin by attaching the smallest wefts at the bottom section. Open the clips, slide them into your hair close to the roots, and snap them shut.
Step 4: Layer and Repeat
Release the next section of hair (about an inch above the last section) and repeat the process using longer wefts. Work your way up your head until you reach your temples. Use the side wefts around your crown and face.
Step 5: Blend and Style
Once all the clips are installed, gently brush through your hair and extensions to blend them together. You can straighten, curl, or wave the hair extensions to match your style. Just make sure you’re using heat protectant spray!
Pro Tips for a Seamless Look
- Color Match is Key: Make sure your extensions are a perfect match to your hair color for a natural blend.
- Use Layers Wisely: If needed, trim or layer the extensions slightly to match your haircut.
- Volume Boost: Backcomb the roots a bit where you plan to clip in the wefts. This gives extra grip and volume.
- Don’t Overdo It: Avoid clipping in too many wefts. Too much hair can look bulky or unnatural.
- Storage Tip: Always store your extensions in a clean, dry place — ideally in a satin pouch or original packaging.
Final Thoughts
With the right tools and a little practice, installing clip-in hair extensions at home is quick, easy, and salon-worthy. Whether you’re prepping for a special occasion or just want fuller locks for the weekend, clip-ins are your best friend.
